I love cheese. If you have met me for 5 minutes, you probably know this about me. It is my favorite food by far. Which is sad for the waistline, but hey, we all have our demons. I run so I can eat cheese. Another thing you may not know about me (but probably do) is that I like to do things myself – to figure things out. So when I love a food, I want to learn to make it and then make it my own. I love macarons with a passion usually reserved for fluffy puppies and squishy babies. And so I learned to make them (recipe to come in a future post!).
And so. I love cheese and decided I would learn how to make it. And then I talked about it for months and months and never made the time to learn, because that’s pretty standard for my jam-packed, overly scheduled life; a problem that I am working on. Thankfully I have the most thoughtful husband who listens to my rants about the things I love and the dreams I have and so for our anniversary last year he surprised me with a cheesemaking class! Making my dreams come true one day at a time, that man. We went to a cooking class at Cavallo Point, a historic hotel tucked just under the Golden Gate Bridge north of San Francisco in Marin, which has the most breathtaking views of the city, is in restored historic buildings of Fort Baker, an old Army post, and also happens to have amazing cooking classes – who knew?!
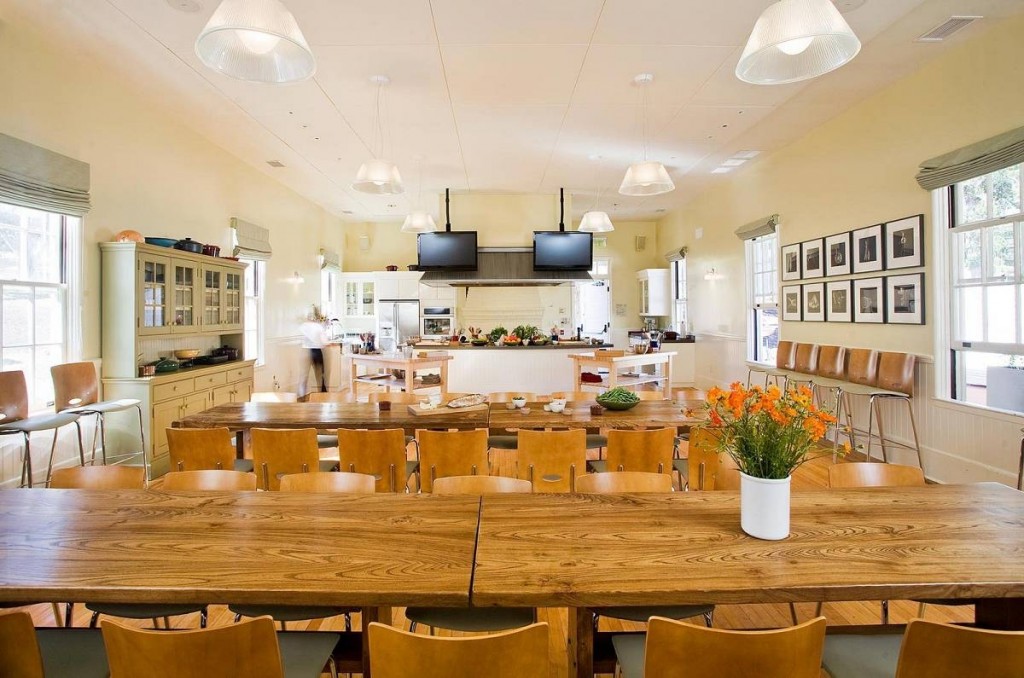
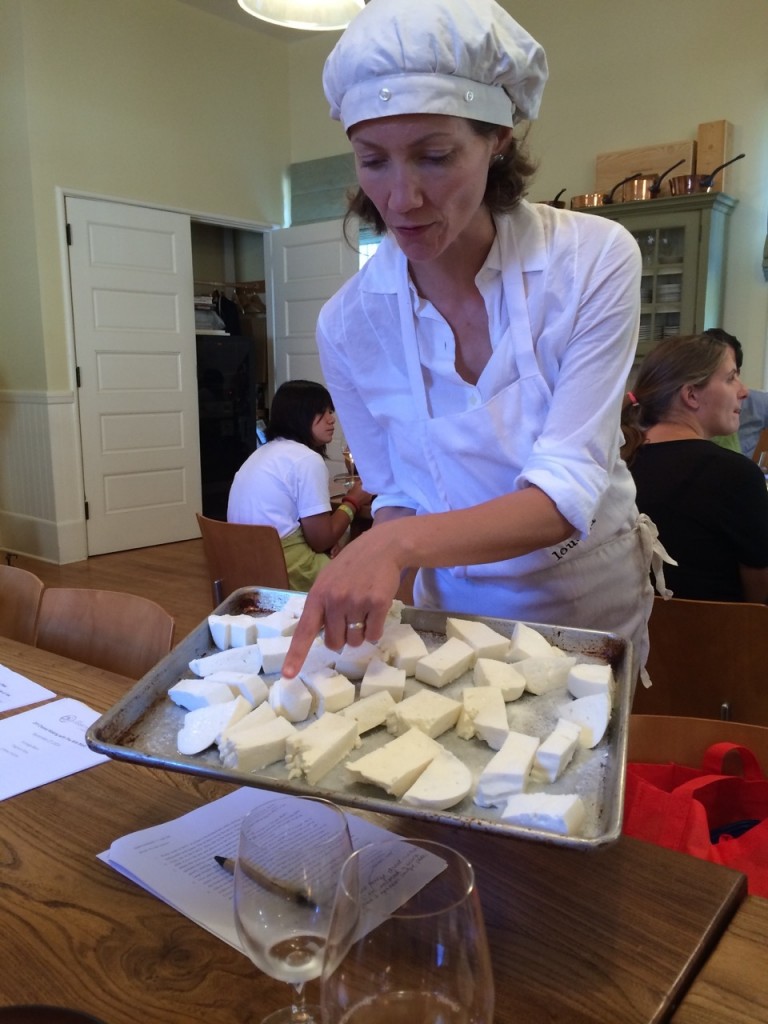
Beautiful Cooking School Location
We took a class with the San Francisco Milk Maid, a lady named Louella who makes craft cheeses and teaches her craft to others for a living. I am still trying to figure out how some people do what they love for a living while most of the rest of us toil away sometimes without ever finding our passion. But I digress, it is another post to explore for the future.
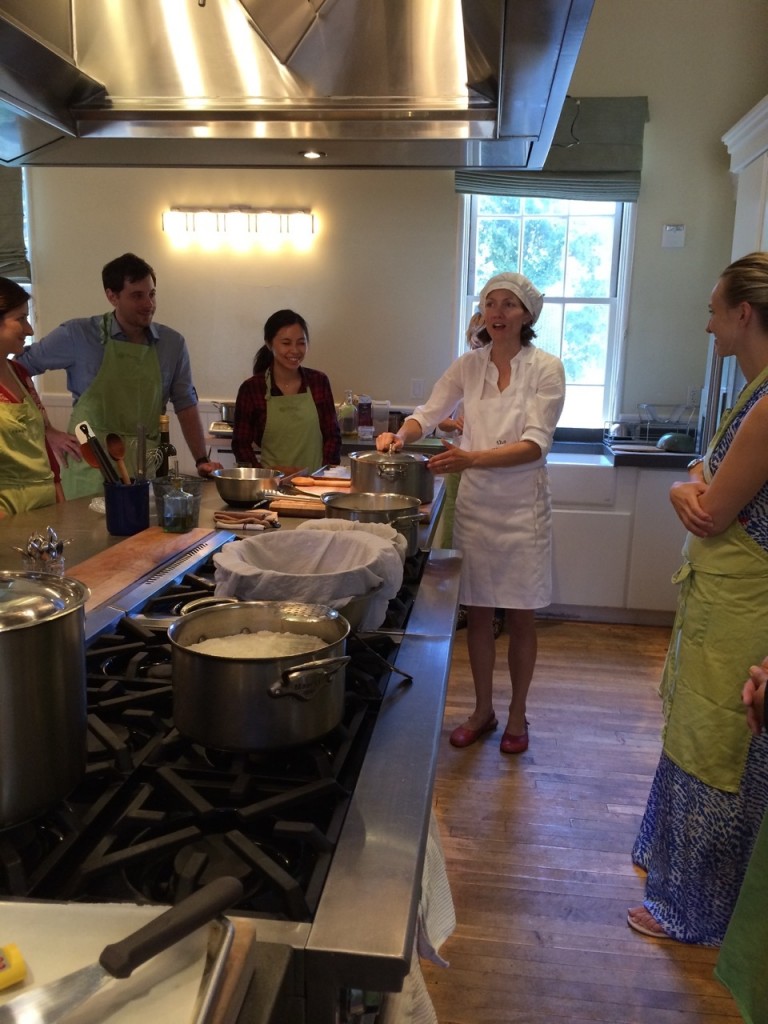
The class was amazing – we learned to make feta, crème fraîche and fromage blanc and for me it was love at first ferment. My favorite part of the class aside from eating our creations was learning about the science behind the cheesemaking. I am not a scientist. My job is not scientific in the least. And I often confound myself when I start thinking too much about molecules and atoms and chemistry, as if my brain can’t comprehend. I love science, and it blows my mind, and that is why I love it. And cheesemaking is a scientific process at its core – it is turning a liquid into a solid, essentially taking the water out of the milk (just to boil it down for you – pun intended!). So this nerd of nerds hung on every word Louella said.

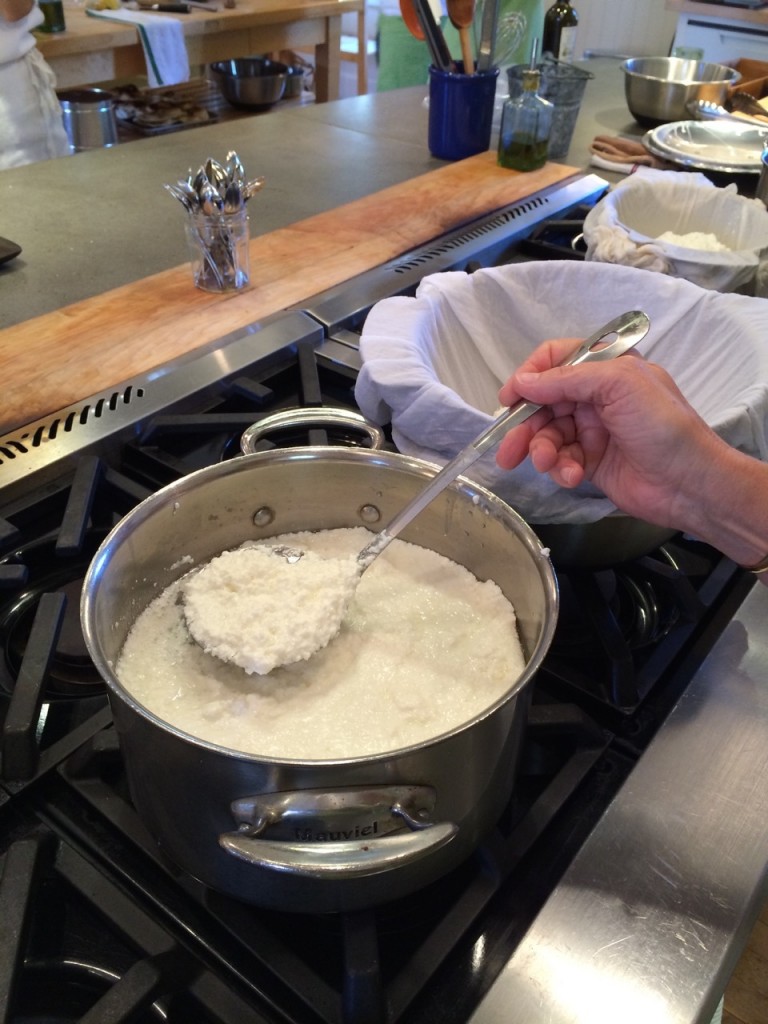
Here’s a little bit of science: Cheesemaking involves coagulating the casein protein in milk and then separating the milk into solid curds and liquid whey. The liquid whey is drained away, and the curds are salted, shaped and left to ripen in a controlled environment. Acidifying the milk helps to separate the curds and whey and control the growth of undesirable bacteria in cheese. Usually special starter bacteria are added to milk to start the cheesemaking process. These bacteria convert the lactose (milk sugar) to lactic acid and lower the milk’s pH level. In many cases, rennet is added to the milk to speed up the coagulation of casein and produces a stronger curd. It also allows curdling at a lower acidity, which is important for some types of cheese. Different types of cheeses are made differently, depending on the source of the milk, moisture content, molds and bacteria added to the milk, and the length of time and environment in which the cheese is aged.
Homogenized milk is a must
And so we learned to make cheese, and I’ve continued practicing and studying so that I can learn to make more and improve on my techniques. I made cheese for our neighbors for the holidays!
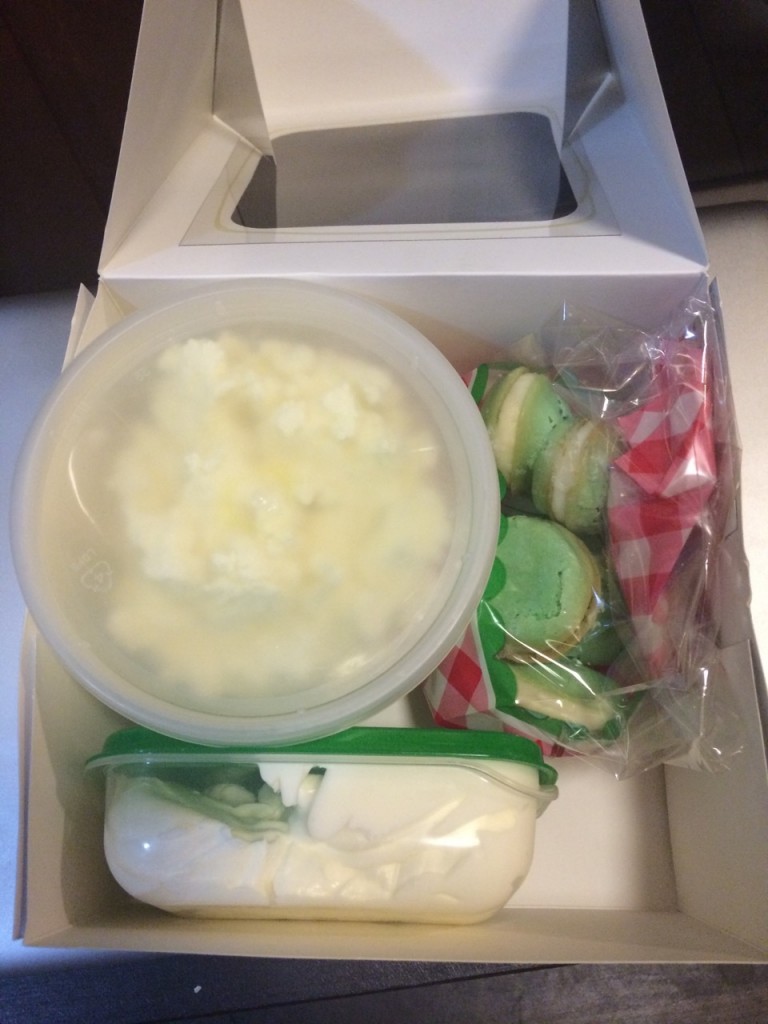
Homemade mint macarons, fromage blanc and crème fraîche for the neighbors!
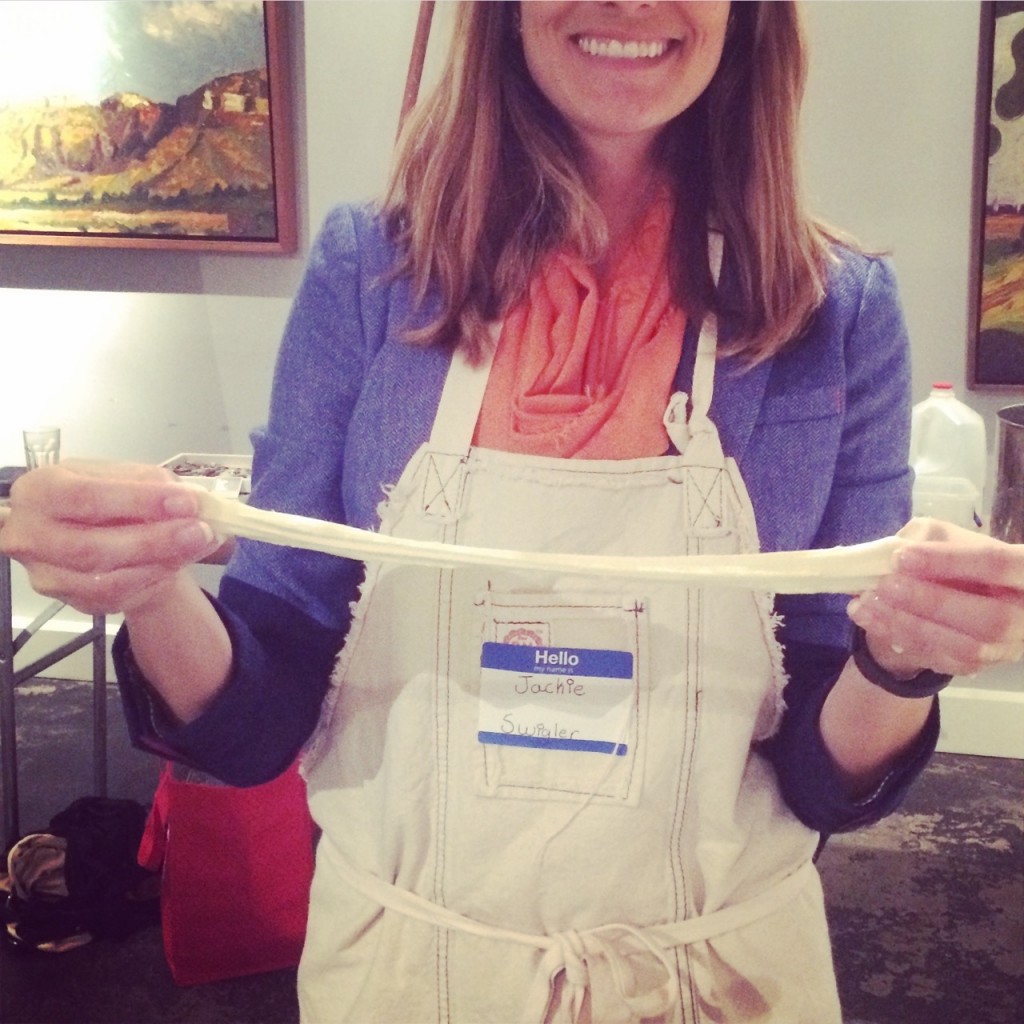
I then took a mozzarella stretching class at the Cheese School of San Francisco. Yes, such a thing exists. I might love mozzarella and burrata the most of all the cheeses? It’s hard to choose. Don’t make me choose. So after talking up the cheesemaking and having lots of requests for some burrata, because who doesn’t love burrata?!, I did some googling and booked myself an after work mozzerella making class. Making mozzarella requires stretching the cheese curds, and stretching the cheese curds is not something that comes naturally to me. It’s an acquired talent I would say. This class too was wonderful and I can’t wait to go back for another course!
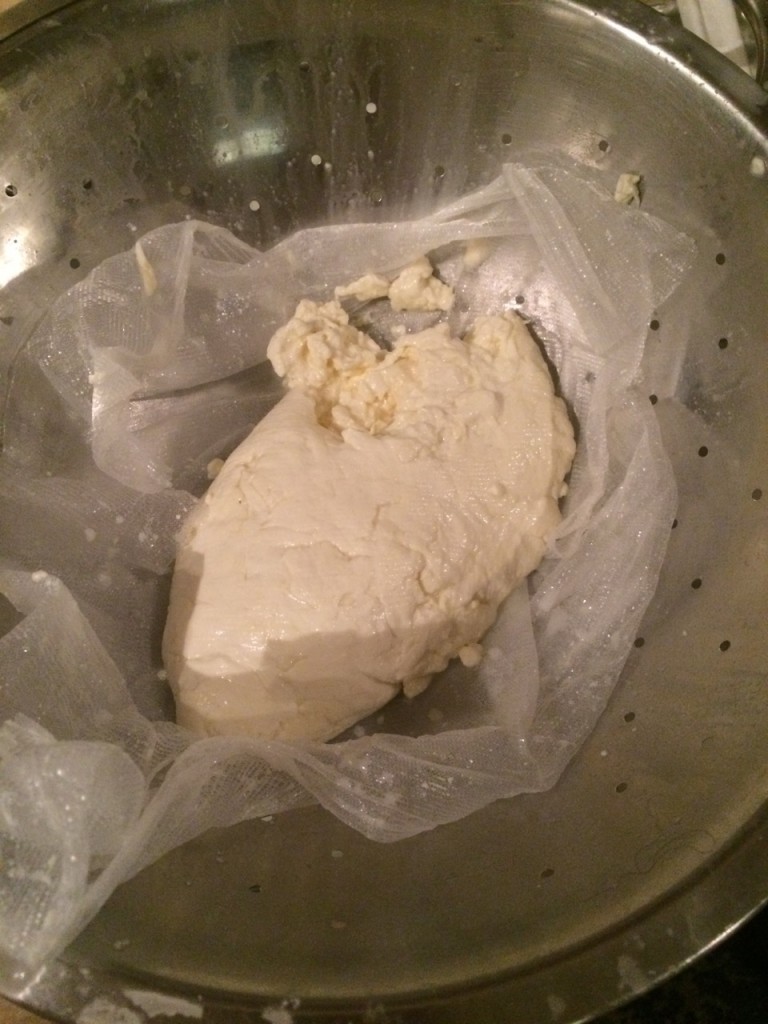
Drying out the curds.
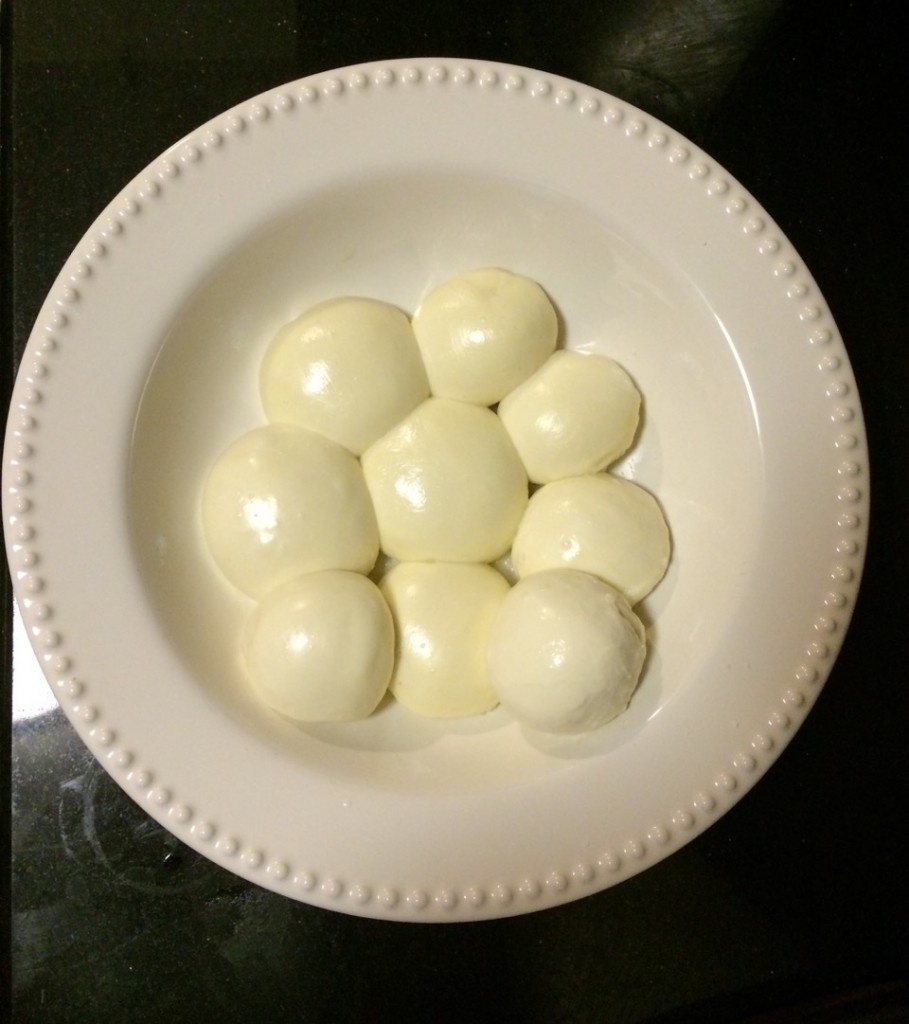
The Finished Product
Here is a recipe for the mozzarella. Perhaps I will put together a little video for you all on mozzarella making. And of course I promise to share more cheesemaking recipes and tips!
Homemade Mozzarella
Ingredients and Supplies:
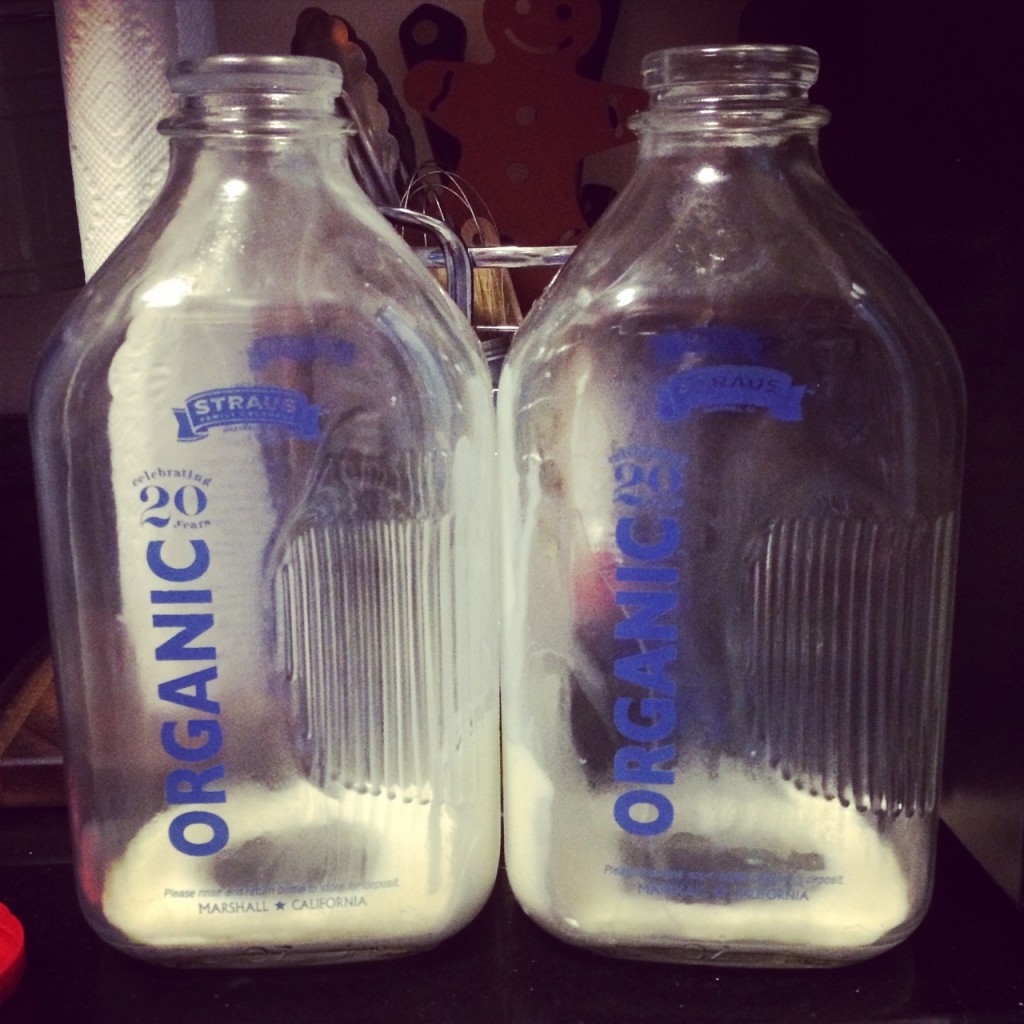
- 1 gallon of non-homogenized milk – MUST be non-homogenized (often called “cream-top”), which can be hard to find. In SF I like to use Straus Family Creamery whole milk, and Trader Joe’s sometimes has cream-top milk, which is actually Straus!
- 1 tbsp kosher salt
- 1/4 cup of chilled, non-chlorinated water
- 1.5 tsp citric acid
- 1/4 tsp rennet
- 1/4 cup salt
- 1 thermometer, 1 large pot with lid, 1 slotted spoon, cheesecloth, 1 colander and shallow plate for draining, and 1 knife
Instructions:
- Mix 1.5 tsp citric acid with 1/4 cup of cool water and stir until dissolved.
- Pour 1 gallon COLD milk into pot and stir vigorously while adding the chilled citric acid solution.
- Heat the milk to 90°F stirring constantly, removing pot from heat at 88°F.
- Add the 1/4 tsp of rennet to 1/4 cup of non-chlorinated water.
- Stir in the rennet solution- don’t take longer than 15 seconds to stir or you will interfere with the coagulation. Remove the spoon.
- Leave the spot undisturbed for 5-10 minutes.
- Check the curd. It should look like custard, with a clear separation between the curd and the whey. If the curd is too soft or the whey is milky, let it sit for a few more minutes.
- Cut a 1″ grid into the curd all the way to the bottom of the pot. Use the slotted spoon or pastry knife, and there is no need to do a horizontal cut.
- Begin to gently lift the curds, displacing them carefully from one side of pot to the other, to gently release more whey. Do this very gently for 5 minutes, until there is whey covering the curds.
- On low heat, heat the curds to 100°F while continuing the gentle “displacement” of the curd (they call this this ‘cheese tickle’).
- Using a colander over a smaller pot, separate the curds and whey by ladling the curd into the cheese-cloth lined colander. Allow the curd to drain in the colander for 10 minutes.
- Heat 1/2 gallon of water or whey in a pot to 160°F.
- Cut the draining curd into 8 pizza wedges with the knife, and then cut those wedges again to make 16 pieces. This can be done while the curd is in colander.
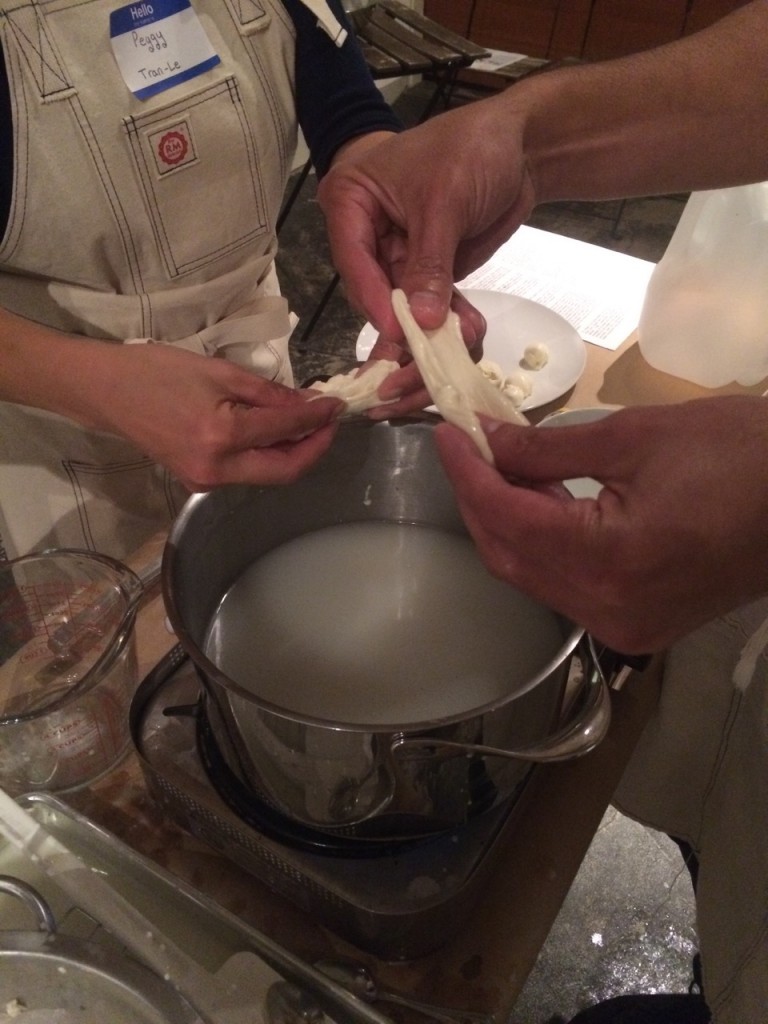
- Once the whey/water has reached 160°F, place some water into a small bowl. Place a piece of curd as big as a large walnut into the pot and let it cook for 30 seconds in the hot water. Spoon it out (careful – the water is hot and the curds will be hot too! You may want to use rubber gloves for this) and test it for stretchability, and give it another 30 seconds if needed. The temperature inside of the curd must be 135°F before the curd will start to become elastic and stretchable. You want to remove the curd from the water as soon as it becomes pliable.
- When it is stretchable, remove the curd from the liquid and pull it like taffy, using gloves if needed. This stretching elongates the proteins, which you will see in the curds as little bumps or nodules. If it does not stretch easily, return it briefly to the hot water. Your mantra- dip (for 5 seconds), pull (for 5 seconds) and fold (to retain moisture). Dip-pull-fold.
- When the curd piece is shiny with no speckles of unstretched proteins left, make a circle with your index and thumb and guide the ball through the hole from back to front. It will make a tight skin to seal the ball, and pinch it at the bottom.
- Continue, placing the curd pieces in the water, until you have completed all pieces. Do not overwork or overheat the cheese, or it will become tough and “squeaky”. Smaller balls make bocconcini, larger balls are made by cooking smaller balls together first and then kneading them together so the inside is cooked, and takes a little more experience.
- Make sure your water stays at 160°F. It will keep cooling down- you may need an extra supply of hot water and a thermometer on hand to keep changing out the water.
- Dissolve 1 tb salt into 2 cups of chilled water and place in bowl- dip your finished mozzarella into the salted water for 1 minute and remove to serving platter. The balls may need to be plumped up again after 15 minutes as they flatten slightly. Or I sometimes will set the mozzarella ball onto a plate with salt on it, so the salt is absorbed into it – whatever you prefer.
Enjoy in any recipe you’d like! Or just eat it by itself, or with tomatoes and basil á la caprese – the possibilities are endless. Salt to taste. Wrap in saran wrap or seal in tupperware and refrigerate to conserve it. It is best eaten right away, but it will stay for a few days in the refrigerator. Another tip is that you can make the curds in abundance and freeze them for later – just freeze the curds after step 11 above and at a later time, thaw out the curds and start with step 12 above. Buon apetito!

Homemade Mozzarella
Cheese School of San Francisco
BY Jackie
LOCATION San Francisco, California
